
Valheim doesn't show a world's seed with a command, but it's stored in the world's files. Here's how to find it, and how to start a world with a seed of your choice.
Your active world's seed
- Sign in to the control panel at panel.chicagoservers.co and open your Valheim server. Click Stop.
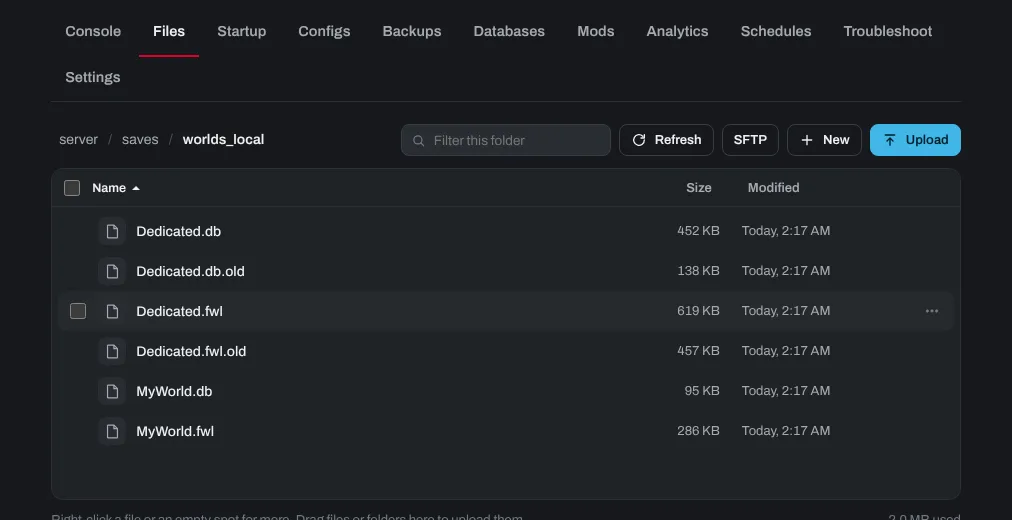
- Open the Files tab and go to
saves/worlds_local. Since Valheim 1.0, each world is a folder named after the world: open it. (A world from before 1.0 that hasn't been converted yet is a.dband a.fwlfile instead.) - Download the world's settings file: the
.fwl2file in the world's folder (such as_main.3.fwl2; if there are several, take the one with the highest number), or the.fwlfile of an older world. Right-click it and choose Download. - Open it in a text editor such as Notepad++. Most of it is unreadable, but your world's name and, just after it, the seed (a short string of letters and numbers) show as plain text, as pictured below.

Finding the seed with valheim-map.world
You can also upload the world's settings file to a third-party tool, valheim-map.world/getseed.html, to find the seed. It may only read the older .fwl files; if it can't read yours, use the text editor method above.

Setting a custom seed on your Valheim server
The server can't make a world from a seed by itself, so you make the world in the game and upload it.
- Start Valheim on your PC. Select your character and click Start.
- On the start window, click New. Enter the world name you want to use (letters, numbers, dashes and underscores only) and the seed you want to play on. Click Done, select the world and click Start. Once you're in, exit to the main menu, so the world is saved.
- On your PC, go to
C:\Users\(Username)\AppData\LocalLow\IronGate\Valheim\worlds_local. Your new world is the folder with its name. - In the control panel, stop your server, open the Files tab, go to
saves/worlds_localand drag the whole world folder there (or use SFTP: see How to connect to your server's SFTP). If the server already has a world with that name, delete it first: don't upload into it. - Open the Startup tab and set World name to the name of the world you uploaded (for a folder named
Dedicated, the world name isDedicated). Click Save startup, then Start.
More about uploading worlds: How can I upload my pre-existing Valheim world to my server?.
Need help? Open a support ticket and we'll take a look.