
You can upload a world you made or hosted in the game on your PC, and play it on your server.
1. Find your world on your PC
Worlds are in C:\Users\YOURUSER\AppData\LocalLow\IronGate\Valheim\worlds_local on Windows (~/.config/unity3d/IronGate/Valheim/worlds_local on Linux).
- Valheim 1.0 and later: each world is a folder named after the world (for example
MyWorld), with files such as_main.3.fwl2,_main.3.db2and many.chunkfiles. Upload the whole folder, never single files from it. - A world from before Valheim 1.0 that hasn't been opened since is a pair of files,
MyWorld.dbandMyWorld.fwl: upload both. The server converts it the first time it loads it.
If the world is saved in the Steam Cloud, it isn't in this folder: in the game's world list, move it to a local save first. Close the game before you copy the world.
2. Upload it
- Sign in to the control panel at panel.chicagoservers.co and open your Valheim server.
- Click Stop at the top of the page.
- Open the Files tab and go to
saves/worlds_local. Drag the world folder (or both files of an older world) onto the page. You can also upload it as a.zipand right-click it to choose Extract here. - Open the Startup tab and set World name to your world's name: the folder name, or the file name without
.dbor.fwl(MyWorldin the example). Click Save startup. - Click Start.
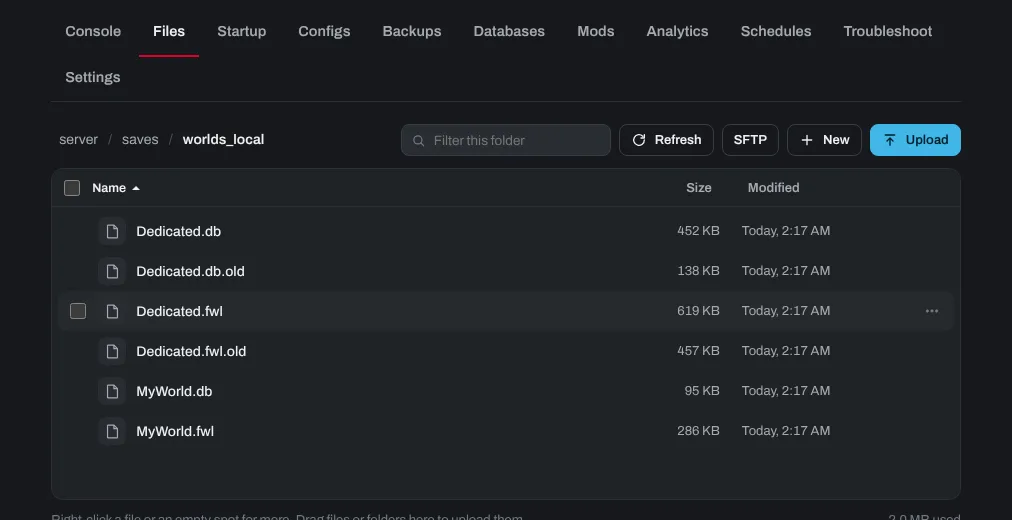
If the server already has a world with the same name, don't upload into it: delete the old one first, or give yours another name (on your PC, rename it in the game). World name can only use letters, numbers, dashes and underscores. Your server's current world stays in saves/worlds_local under its own name, so you can switch back to it by changing World name again.
With an SFTP program (FileZilla)
For big worlds, SFTP is quicker and can resume an upload. See How to connect to your server's SFTP to connect, then upload the world folder to saves/worlds_local and set World name as above.
Need help? Open a support ticket and we'll take a look.