
You make yourself an admin with a console command, sent from the control panel while the server is running.
- Find your SteamID64 (17 digits, starting with 7656119) at steamid.io.
- Sign in to the control panel at panel.chicagoservers.co and open your 7 Days to Die server. Make sure it's running.
- Open the Console tab, type this with your own SteamID64, and press Send:
admin add Steam_76561198000000000 0
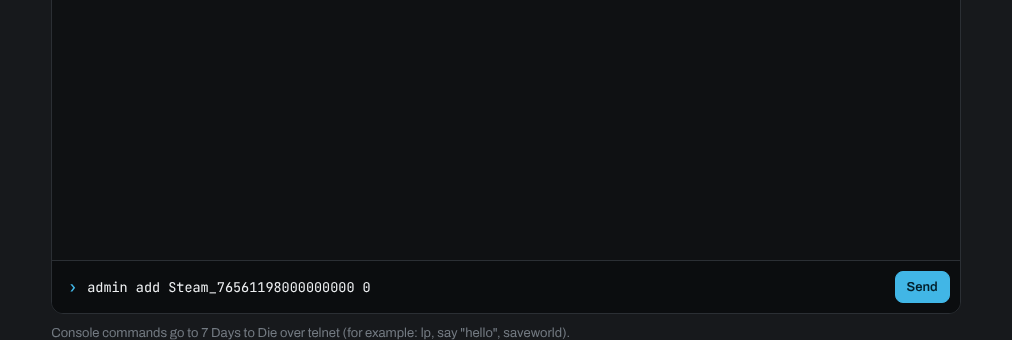
The 0 is the permission level: 0 is the highest (full admin), 1000 is a normal player. The server saves this in its serveradmin.xml file, so you stay an admin after restarts.
To remove an admin, send admin remove Steam_76561198000000000.
Console players and players who are online
Xbox and PlayStation players on a crossplay server don't have a SteamID64. While the player is on the server, send lp on the Console tab to list the players online, then use the player's name exactly as shown, for example admin add PlayerName 0. This works for Steam players who are online too.
Editing serveradmin.xml yourself
You can also edit the admin file directly. Stop the server, open the Files tab and go to UserData/Saves, then right-click serveradmin.xml and choose Edit. Save it and start the server.
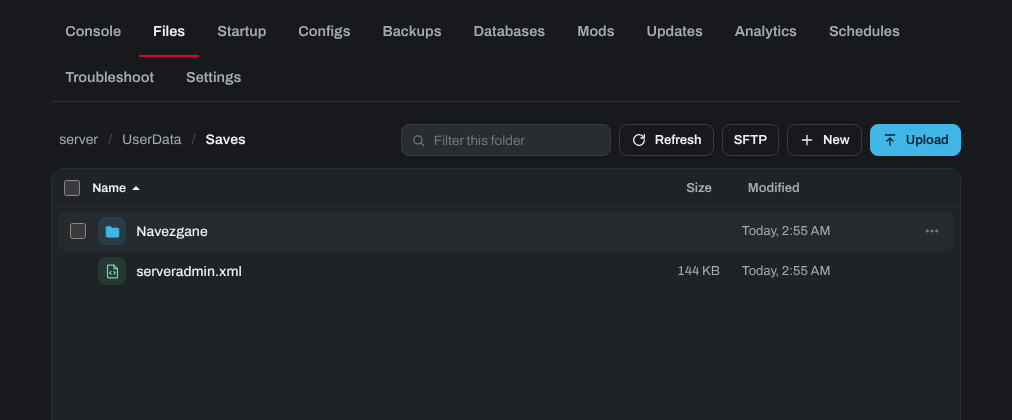
Your saves and generated worlds are in the UserData folder too, so you can download or upload them on the Files tab or over SFTP.
Need help? Open a support ticket and we'll take a look.